I was gifted
this super chunky really soft Bernat yarn, and I kept looking for the right
project to make with this oh, so lovely yarn.
This project is going to a really good friend’s grandchild, and I love
that I had this yarn ready for this project.
Thank you for joining me.
In case you have just joined me, know that you can access all of my earlier creations by checking under ‘categories’ on the right hand side of this blog under “Labels”. Then, for your convenience, follow me here or on Facebook, You Tube, Pinterest, Twitter or Instagram.
Check out all my social media handles at the bottom of this blog
Oh, and may I add that the fastest way to find any of my blogs is via Pinterest.
All my blogs can be printed. Find the printer friendly (green) link at the bottom of this blog. You can also hit Control P (or Command P for Mac) on your keyboard, and the blog will go directly to the connected printer.
Remember that you only print if absolutely essential. Save paper – Save Our Earth.
Do remember to add my blog URL when you make and show off your creation.
Just copy the link on the search bar above - that's the blog URL.
To purchase this or similar yarn online, click here to buy your yarns online via Amazon. While you will still pay the same, I may get paid by Amazon as well.
This is a free blog - so do pay it forward for me. Cheers.
Materials used :
Today I’ve used one skein of the lovely Bernat baby Softee chunky yarn, with a 5.5 mm crochet hook ; and some Oswal Cashmilon 4-ply acrylic with a 4 mm crochet hook
Skill level :
Intermediate.
Abbreviations used :
sc : single crochet dc : Double crochet
ch : chain ch-sp : chain space
sp : space rep : Repeat
fsc : Foundation single crochet
trc : Treble / triple crochet
dtrc : Double triple crochet
Here are some regular stitches that are used for granny squares
Stitches used :
Half Double Crochet : Hdc : yo, insert hk into st ; yo (3 lps on hk) ;
yo, draw through all 3 lps. One hdc made.
Chainless start for Half Double Crochet : I dislike the ch-2 start, and this is what I do to start my row of hdc. Check out the video at https://youtu.be/lWXpl1KdbZ8
Double Crochet : dc : yo, insert hk into st ; yo (3 lps on hk);
[yo, draw through 2 lps] twice. One dc made.
Chainless start for Double Crochet : I dislike the ch-2 / ch – 3 start, and this is what I do to start my row of dc.
Double Triple Crochet : dtrc : wrap yarn three times around hook, insert hk into st ; yo (4 lps on hk); [yo, draw through 2 lps] three times. One trc made.
Invisible join : Here’s a quick tutorial on how to join using the embroidery needle and whipstitch to get an invisible join at https://youtu.be/a6XZQ6VzJFM
How to change colors seamlessly : Here’s an easy video tutorial to show you how to change from the Main color to the Contrast or second color of yarn seamlessly. View it at
https://youtu.be/fRzSBja9jno
How to carry your yarn when using two colors : Here’s an easy video tutorial to show you how to carry your yarn along when working with two colours.
Instructions : (Using U.S terminology)
Please note that I start all my rows with a ch 1, turning chain for ease.
Please check the top of this blog for easy video tutorials on all stitches used in today's pattern.
The pattern here is just for the
little teddy bear and there is nothing for the snuggle blanket. I am using a super chunky yarn, so I have
therefore opted for the regular granny square pattern.
I have divided my snuggle into two parts and here is what I've done.
Part 1 : Teddy bear
For the teddy bear, you can decide
how much of the pattern you want to use.
Here’s what I’ve done for my teddy.
I used the head, ears and two arms
for my pattern. I have used safety eyes
for the project as well.
For the mouth/snout bit, I decided to
crochet it in (instead of using felt as the designer has), and for that…
Start with 4 fsc ; Turn. In the next round, we will work down the 4
fsc, turn and work along the bottom of the same 4 fsc.
Sc in the 1st fsc ; 2 hdc
in the next fsc ;
hdc in the next fsc ; 3 sc in the last fsc ;
Turn and work along the bottom of the fsc ;
2 hdc in the next
fsc ; hdc in the next fsc ;
2 sc in the last fsc and join to the 1st
sc.
Fasten off and weave in ends.
Attach this little mouth/snout piece to the
face.
I then embroidered in the little pair
of lips as the designer has.
Ensure that you weave and glue down
all ends.
Part 2 : Snuggle blanket
So if you too decide on this pattern,
here are my notes.
Start with a magic circle
and work 3 dc in that circle ;
(ch 2, 3 dc) in the same circle ;
rep (to) 2 times
in the same
circle ;
ch 2 and join with a sl-st to the 1st
dc.
Pull lightly to close the magic
circle.
There are two ways to continue.
1) You sl-st past the 3
dc to get to the 1st ch-sp and then work your pattern round ;
2) You turn your work and work in the 1st
ch-sp which will be right
there.
Choose your way.
For the 1st two rounds, I will
write both instructions, and they will read Round 1 and Round 1A ; Round 2 and
Round 2A.
Round
1 : sl-st past the 1st 3 dc and into the 1st
ch-sp ;
3 dc in the same 1st ch-sp
;
*ch 2, 3 dc in the corner ch-sp ;
ch 2, 3 dc in the same corner ch-sp* ;
rep *to* all around
;
ch 2, and join with a sl-st to the 1st dc.
Round
1A : 3 dc in the 1st ch-sp ;
*ch 2, 3 dc in
the corner ch-sp ;
ch 2, 3 dc in the same corner ch-sp* ;
rep *to* all around
;
ch 2, and join with a sl-st to the 1st dc.
Round
2 : sl-st past the 1st 3 dc and into the 1st
ch-sp ;
3 dc in the same 1st
ch-sp ;
*ch 2, 3 dc in the ch-sp ;
ch 2, 3 dc in the next corner ch-sp* ;
rep
*to* all around ;
ch 2, and join with a sl-st to the 1st dc.
Round
2A : 3 dc in the 1st ch-sp ;
*ch 2, 3 dc in
the next ch-sp ;
ch 2, 3 dc in the next corner ch-sp* ;
rep *to* all around ;
ch 2, and join with a sl-st to the 1st dc.
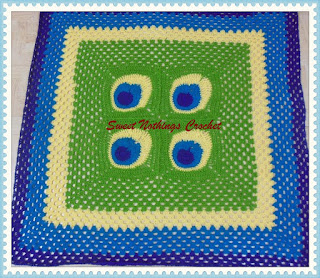
Continue working the same pattern all
around, with 3 dc in the ch-sps and (3 dc ; ch 2, 3 dc) in each corner ch-sps.
As this is a cute little snuggle
blanket, you can decide how large you need this project. So you will work in rounds all the way till
you have the size that you need.
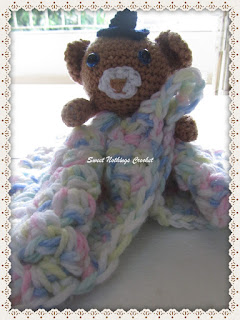
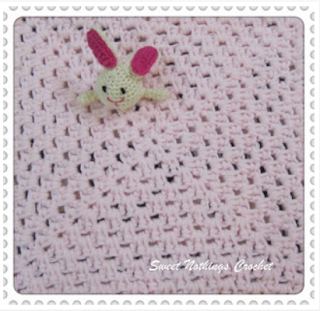
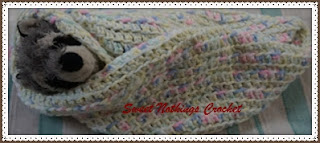
You will attach the cute little teddy bear either in the centre or one of the
four corners, depending on where you think it looks the cutest. Isn’t this just
the cutest little blanket? I think so !
Enjoyed this ?? I sure did.. come back right
here for more freebie patterns
Remember to share this blog post when you share your photos with me on Facebook. I’d love to feature your photos on my FB page. Cheers.
If you're visiting me here for the first time, and have liked the experience, do add me to your mailing list (for your convenience) , and all my future free patterns will come straight to your mail box.
I’d appreciate if you could credit my blog (and link the original pattern link) when you make your own creation. Thanks.
Have a great day and see you soon

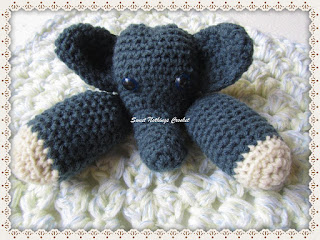
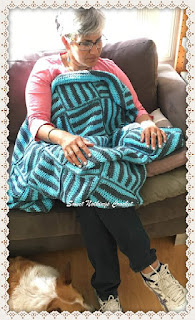
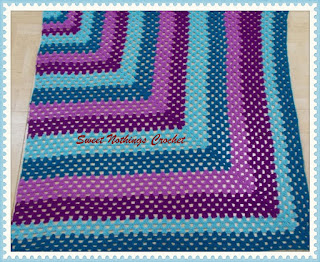
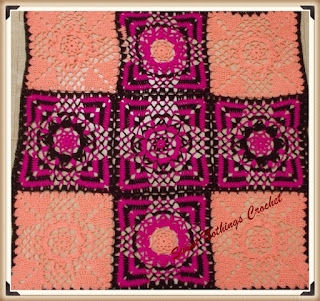
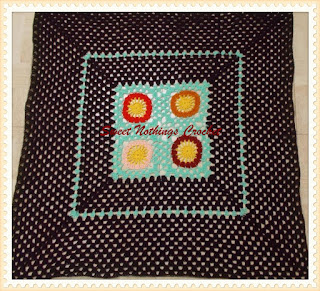
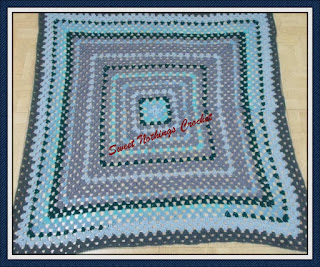
and some more blanket / granny square patterns.. 













No comments:
Post a Comment
Thanks for taking the time to stop by. Do tell me what you think. Cheers